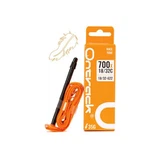
Hey there, fellow cycling enthusiasts! I'm a supplier of TPU bicycle tubes, and I know how important it is to have the right tubes for a smooth and safe ride. In this blog, I'm gonna walk you through the process of installing TPU bicycle tubes. Whether you're a newbie or a seasoned cyclist looking to switch to TPU tubes, this guide is for you.
Why TPU Bicycle Tubes?
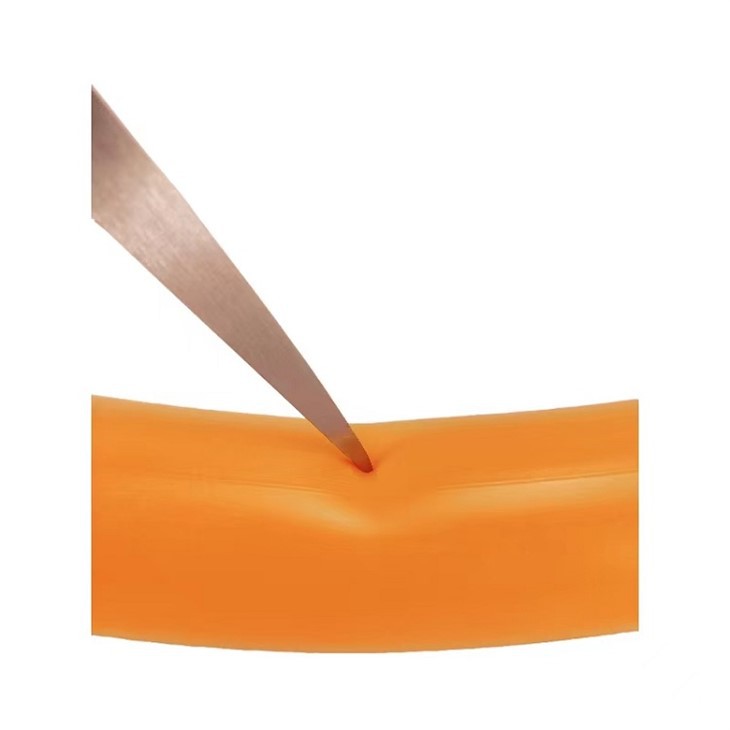
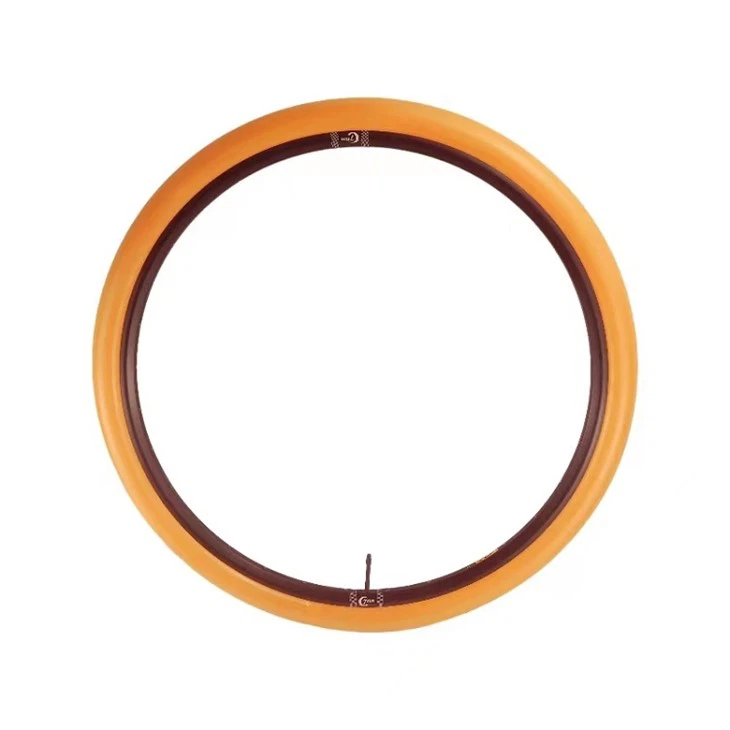
Before we get into the installation process, let me quickly tell you why TPU (Thermoplastic Polyurethane) tubes are a great choice. TPU tubes are known for being lightweight, which can improve your bike's performance. They're also more puncture - resistant compared to traditional rubber tubes. You can check out our Ultralight TPU Inner Tube and TPU Bicycle Inner Tubes on our website to see the different options we offer.
Tools You'll Need
First things first, gather the tools you'll need for the installation. You don't need a whole bunch of fancy stuff. Here's what's on the list:
- A good set of tire levers. You can find these at any bike shop. They're essential for getting the tire off the rim.
- A pump. You'll need it to inflate the tube once it's installed. A hand pump is fine, but if you have an air compressor, that works too.
- A patch kit, just in case you accidentally damage the tube during the installation. It's always better to be prepared.
Removing the Old Tube
Okay, let's start by getting that old tube out of there.
- Deflate the tire: Use the valve tool (if you need one) to open the valve and let all the air out. You'll hear a satisfying hiss as the air escapes.
- Loosen the tire beads: Use your tire levers to pry the tire bead off the rim. Start at the valve stem. Slip the lever under the bead and lift it up and over the rim. Do this around the whole tire until one side of the tire bead is completely off the rim.
- Remove the old tube: Once one side of the tire bead is off, you can reach in and pull out the old tube. Be careful not to damage the tire or the rim while doing this.
Inspecting the Tire and Rim
Before you install the new TPU tube, take a few minutes to inspect the tire and the rim.
- Check the tire: Look for any sharp objects like glass, nails, or thorns that might have caused the flat. Remove them if you find any. Also, check the tire for any signs of wear or damage, like cuts or bulges. If the tire is in bad shape, you might want to replace it too.
- Inspect the rim: Check the rim for any sharp edges or dents. A rough rim can damage the new tube. If you find any sharp edges, you can use a file to smooth them out.
Installing the New TPU Tube
Now comes the fun part - installing the new tube.
- Prepare the tube: Take your new TPU tube out of the package. Give it a quick once - over to make sure there are no defects. Then, inflate it just a little bit. This will make it easier to handle and shape inside the tire.
- Place the tube in the tire: Start by putting the valve stem through the hole in the rim. Then, carefully place the tube inside the tire, making sure it lies flat. Try to keep it centered as much as possible.
- Mount the tire bead: Start at the valve stem and work your way around the tire. Use your hands to push the tire bead back onto the rim. You might need to use the tire levers for the last part. Be gentle with the levers to avoid pinching the tube. Make sure the tube doesn't get caught between the tire bead and the rim.
Inflating the Tube
Once the tube is in place and the tire bead is back on the rim, it's time to inflate the tube.
- Attach the pump: Connect the pump to the valve stem. Make sure it's a good, tight connection.
- Inflate the tube: Start pumping air into the tube. Keep an eye on the pressure. You can find the recommended pressure on the side of the tire. Don't over - inflate the tube, as this can cause the tire to burst.
Final Checks
After inflating the tube, do a final check to make sure everything is in order.
- Spin the wheel: Lift the bike off the ground and spin the wheel. Make sure the tire is seated evenly on the rim and that there are no wobbles.
- Check the valve: Make sure the valve is straight and secure. A loose or crooked valve can cause air to leak.
Conclusion
And there you have it! You've successfully installed a TPU bicycle tube. It might seem a bit tricky at first, but with a little practice, you'll be a pro in no time. TPU tubes offer a lot of benefits, and I hope you enjoy the improved performance and puncture resistance they provide.
If you're interested in purchasing our high - quality TPU bicycle tubes, we'd love to hear from you. Whether you're a bike shop owner looking to stock up or an individual cyclist in need of a new tube, we can provide you with the right products at great prices. Just reach out to us for a quote and let's start a conversation about your cycling needs.
References
- General knowledge from years of working with TPU bicycle tubes.
- Advice from experienced cyclists and bike mechanics.