

Installing a bicycle tyre liner is a crucial step in maintaining the integrity and performance of your bike's wheels. As a trusted bicycle tyre liner supplier, I understand the importance of having the right tools for the job. In this blog post, I'll walk you through the essential tools needed to install a bicycle tyre liner effectively.
1. Tire Levers
Tire levers are perhaps the most well - known tool when it comes to working on bicycle tires. They are used to remove the existing tire from the wheel rim. Most tire levers are made of plastic or metal. Plastic tire levers are lightweight and less likely to damage the rim, while metal ones are more durable and can handle tougher jobs.
When choosing tire levers, look for ones with a smooth, rounded tip to prevent puncturing the inner tube or the tyre liner. You'll typically need at least two tire levers to perform the installation. Insert one lever under the tire bead at the valve stem and pry it up and over the rim. Then, use the second lever to work your way around the rim, gradually removing the tire.
2. Bicycle Wheel Rim Tape
Before installing the tyre liner, you need to ensure that the wheel rim is properly prepared. This is where Bicycle Wheel Rim Tape comes in. Rim tape is used to cover the spoke holes in the rim, preventing the inner tube from being punctured by the sharp edges of the holes.
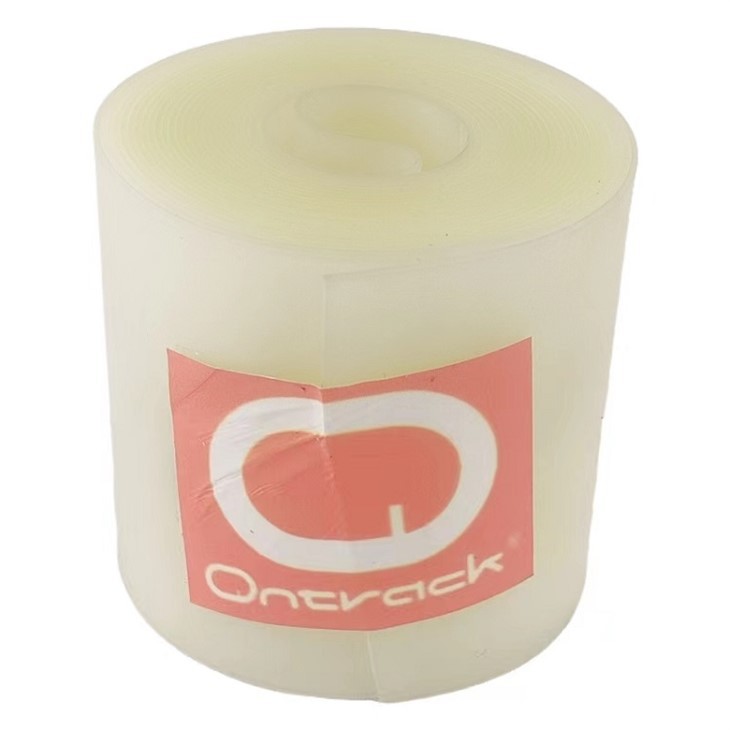

It is usually made of materials like nylon or vinyl. Nylon rim tape is more durable and can withstand the wear and tear of regular use. When applying the rim tape, make sure it is centered over the spoke holes and that there are no wrinkles or bubbles. Cut the tape to the appropriate length, leaving a small overlap at the end to ensure a secure fit.
3. Bicycle Tyre Liner
Of course, the star of the show is the Bicycle Tyre Liner itself. A tyre liner is a thin, protective layer that sits between the inner tube and the tire. It provides an extra barrier against punctures from sharp objects such as glass, thorns, or nails.
Tyre liners come in different materials, including rubber, plastic, and Kevlar. Rubber liners are flexible and conform well to the shape of the tire, while Kevlar liners are extremely strong and offer excellent puncture resistance. When installing the tyre liner, place it inside the tire, making sure it is evenly distributed and does not bunch up.
4. Inner Tube
An inner tube is an essential component of a bicycle tire. It holds the air that gives the tire its shape and provides a smooth ride. When installing a tyre liner, you'll need to choose an inner tube that is the right size for your tire. Inner tubes are typically labeled with the tire size they are compatible with, such as 26 x 1.75 - 2.125 inches.
Before inserting the inner tube, check it for any signs of damage or leaks. You can do this by inflating it slightly and listening for hissing sounds or feeling for air escaping. If you find a leak, you can patch it using a tube repair kit.
5. Valve Core Tool
A valve core tool is a small but important tool that is used to remove and install the valve core in the inner tube. The valve core is the part of the valve that controls the flow of air in and out of the tube. If you need to deflate the inner tube quickly or add sealant, you'll need to remove the valve core.
Valve core tools are usually made of metal and are very inexpensive. They are easy to use - simply insert the tool into the valve and turn it counter - clockwise to remove the core.
6. Pump
Once you have installed the tyre liner and inner tube, you'll need to inflate the tire to the recommended pressure. A good quality bicycle pump is essential for this task. There are two main types of bicycle pumps: floor pumps and hand pumps.
Floor pumps are larger and more powerful, making them ideal for quickly inflating a tire to the correct pressure. Hand pumps are more portable and are useful for on - the - go repairs. Make sure your pump is compatible with the valve type on your inner tube (either Presta or Schrader).
7. Grease
Grease is often overlooked but can be very helpful during the installation process. You can apply a small amount of grease to the tire beads and the valve stem. Greasing the tire beads makes it easier to install the tire on the rim, reducing the risk of pinching the inner tube. Greasing the valve stem helps to create a better seal and prevents air from leaking out.
Installation Process
Now that you have all the necessary tools, let's go through the installation process step by step:
- Remove the tire: Use the tire levers to remove the existing tire from the wheel rim. Start at the valve stem and work your way around the rim.
- Remove the old rim tape: If there is old rim tape on the rim, carefully remove it. Make sure to clean the rim thoroughly to remove any dirt or debris.
- Install the new rim tape: Cut the Bicycle Wheel Rim Tape to the appropriate length and apply it to the rim, centering it over the spoke holes. Leave a small overlap at the end and press it firmly into place.
- Insert the tyre liner: Place the Bicycle Tyre Liner inside the tire, making sure it is evenly distributed.
- Insert the inner tube: Inflate the inner tube slightly to give it some shape. Then, place it inside the tire, starting at the valve stem. Make sure the valve stem is centered in the valve hole on the rim.
- Install the tire: Use the tire levers to install the tire back onto the rim. Start at the valve stem and work your way around the rim, making sure the tire bead is properly seated.
- Inflate the tire: Use the pump to inflate the tire to the recommended pressure. Check the sidewall of the tire for the recommended pressure range.
Conclusion
Installing a bicycle tyre liner is a relatively simple process, but having the right tools is essential. As a bicycle tyre liner supplier, I recommend investing in high - quality tools to ensure a successful installation. Whether you're a casual rider or a serious cyclist, a properly installed tyre liner can save you from the hassle of frequent punctures.
If you're interested in purchasing Bicycle Tyre Liners, Bicycle Wheel Rim Tape, or other related products, feel free to reach out for a procurement discussion. We are committed to providing you with the best products and services to meet your cycling needs.
References
- Bontrager. "Tire Installation and Maintenance Guide." Bontrager Cycling, 2023.
- Park Tool. "How to Install a Bicycle Tire." Park Tool Company, 2023.
- Sheldon Brown. "Tire Fitting." Sheldon Brown's Bicycle Technical Information, 2023.


