Hey there, fellow cycling enthusiasts! As a supplier of top - notch bicycle rim tapes, I often get asked about the tools needed to install them. Whether you're a seasoned pro or a newbie in the cycling world, having the right tools can make the installation process a breeze. So, let's dive into what you'll need to get your bicycle rim tape installed like a champ.
1. Measuring Tape
First things first, you gotta know the size of your rim. A measuring tape is an essential tool here. You need to measure the inner width of your bicycle rim accurately. This measurement will help you choose the right width of the rim tape. If the tape is too narrow, it won't cover the spoke holes properly, leaving your tube vulnerable to punctures. On the other hand, if it's too wide, it can bunch up and cause an uneven surface.
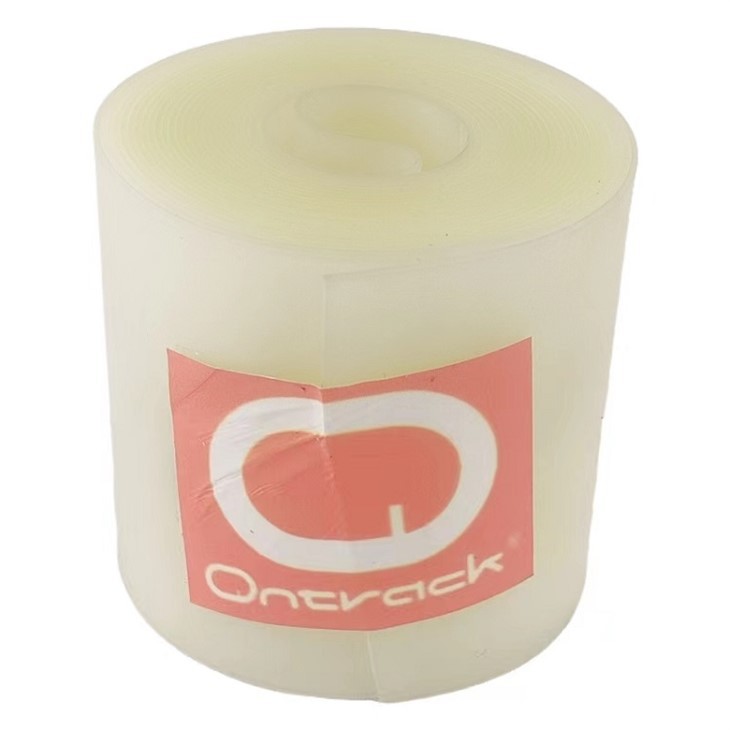
We offer a variety of rim tapes, like the Bicycle Wheel Rim Tape, in different widths to suit various rim sizes. So, make sure to measure your rim correctly before making a purchase.
2. Scissors
Once you've got the right - sized rim tape, you'll need a good pair of scissors. You'll use them to cut the tape to the appropriate length. After measuring the circumference of your rim, add a little extra length (about an inch or two) to ensure that you can overlap the ends of the tape securely. This overlap is crucial as it prevents the tape from coming loose over time.
Sharp scissors will give you a clean cut, which is important for a smooth installation. Dull scissors can cause fraying, and that's the last thing you want when you're trying to get a professional - looking job.
3. Spoke Wrench
A spoke wrench is another must - have tool. Before installing the rim tape, you need to loosen the spokes slightly. This gives you some extra space to work with and makes it easier to lay the tape evenly in the rim channel. You don't have to loosen them too much; just enough to create a little wiggle room.
After you've installed the rim tape, you'll use the spoke wrench again to tighten the spokes back to their proper tension. Keeping the spokes at the right tension is essential for the overall strength and performance of your wheel.

4. Flat - Head Screwdriver
A flat - head screwdriver comes in handy for a couple of reasons. First, you can use it to clean out the rim channel. Over time, dirt, grime, and old tape residue can build up in there. Use the screwdriver to carefully scrape away any debris, ensuring a clean surface for the new rim tape.
Secondly, the screwdriver can be used to tuck the edge of the rim tape under the spoke nipples. This helps to secure the tape in place and prevents it from shifting during use. Just be careful not to scratch the rim while using the screwdriver.
5. Tweezers
Tweezers are a great little tool for this job. When you're laying the rim tape in the rim channel, you might encounter some small pieces of debris or bits of old tape that the screwdriver couldn't get. Tweezers allow you to pick up these tiny particles easily.
They're also useful for handling small objects like the valve hole in the rim tape. You can use the tweezers to align the valve hole with the valve opening in the rim precisely. This ensures that your tube valve will fit properly and won't get blocked or damaged.
6. Rubber Mallet (Optional but Helpful)
If you're installing a Bicycle Tubeless Rim Tape, a rubber mallet can be a useful addition to your toolkit. Tubeless rim tapes need to be seated firmly in the rim to create an airtight seal. After laying the tape in the rim, you can use the rubber mallet to gently tap the tape down around the circumference of the rim.
This helps to ensure that the tape adheres well to the rim and fills any small gaps. Just be gentle with the mallet; you don't want to damage the rim or the tape.
7. Adhesive (for Some Tapes)
Some rim tapes, especially Bicycle Nylon Rim Tape, may require the use of adhesive. Adhesive helps to keep the tape firmly attached to the rim, especially in high - stress areas. If your rim tape comes with adhesive, follow the manufacturer's instructions carefully.
Apply the adhesive evenly to the rim channel, and then carefully lay the tape on top. Make sure to smooth out any air bubbles as you go. If your tape doesn't come with adhesive, you can buy some separately, but make sure it's suitable for use with bicycle rims.
Installation Tips
Now that you know what tools you need, here are a few tips to make the installation process even smoother.
- Clean the Rim Thoroughly: Before you start, give your rim a good cleaning. Use a degreaser or some soapy water to remove any oil, grease, or dirt. A clean rim will ensure better adhesion of the rim tape.
- Work Slowly and Methodically: Take your time when installing the rim tape. Start at one point on the rim and gradually work your way around, smoothing out the tape as you go. This helps to prevent wrinkles and air bubbles.
- Check for Proper Alignment: As you're installing the tape, make sure that the valve hole in the tape lines up perfectly with the valve opening in the rim. This is crucial for a proper tube installation.
Why Choose Our Rim Tapes?
As a supplier, we take pride in offering high - quality bicycle rim tapes. Our tapes are made from durable materials that can withstand the rigors of cycling. Whether you're a casual rider or a competitive cyclist, our rim tapes will provide reliable protection for your tubes.
We also offer a wide range of options, including Bicycle Tubeless Rim Tape and Bicycle Nylon Rim Tape. Each type has its own unique features and benefits, so you can choose the one that best suits your needs.
Contact Us for Procurement
If you're interested in purchasing our bicycle rim tapes, we'd love to hear from you. Whether you're a bike shop owner looking to stock up on supplies or an individual cyclist in need of a replacement tape, we can provide you with the products you need. Contact us to discuss your requirements and get a quote. We're committed to providing excellent customer service and competitive prices.
References
- "Bicycle Maintenance Handbook" by Park Tool Company
- Various online cycling forums and blogs for practical tips and user experiences.